My MCP Actor
Pricing
Pay per usage
My MCP Actor
Pricing
Pay per usage
Rating
0.0
(0)
Developer

Zuzana Štětinová
Actor stats
0
Bookmarked
3
Total users
2
Monthly active users
5 months ago
Last modified
Categories
Share
MCP server template
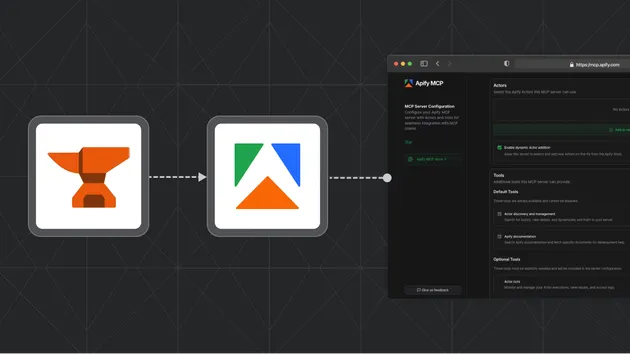
A template for running and monetizing a Model Context Protocol server using stdio transport on Apify platform. This allows you to run any stdio MCP server as a standby Actor and connect via either the streamable HTTP transport or the legacy SSE transport with an MCP client.
How to use
Change the MCP_COMMAND to spawn your stdio MCP server in src/main.ts, and don't forget to install the required MCP server in the package.json (using npm install ...).
By default, this template runs an Everything MCP Server using the following command:
Alternatively, you can use the mcp-remote tool to turn a remote MCP server into an Actor. For example, to connect to a remote server with authentication:
Feel free to configure billing logic in .actor/pay_per_event.json and src/billing.ts.
Push your Actor to the Apify platform, configure standby mode, and then connect to the Actor standby URL with your MCP client. You can use either:
https://me--my-mcp-server.apify.actor/mcp(streamable HTTP transport, recommended)https://me--my-mcp-server.apify.actor/sse(legacy SSE transport)
Important: When connecting to your deployed MCP server, you must pass your Apify API token in the Authorization header as a Bearer token. For example:
This is required for authentication and to access your Actor endpoint.
Pay per event
This template uses the Pay Per Event (PPE) monetization model, which provides flexible pricing based on defined events.
To charge users, define events in JSON format and save them on the Apify platform. Here is an example schema with the tool-request event:
In the Actor, trigger the event with:
This approach allows you to programmatically charge users directly from your Actor, covering the costs of execution and related services.
To set up the PPE model for this Actor:
- Configure Pay Per Event: establish the Pay Per Event pricing schema in the Actor's Monetization settings. First, set the Pricing model to
Pay per eventand add the schema. An example schema can be found in .actor/pay_per_event.json.
Resources
- What is Anthropic's Model Context Protocol?
- How to use MCP with Apify Actors
- Apify MCP server
- Apify MCP server documentation
- Apify MCP client
- Model Context Protocol documentation
- TypeScript tutorials in Academy
- Apify SDK documentation
Getting started
For complete information see this article. In short, you will:
- Build the Actor
- Run the Actor
Pull the Actor for local development
If you would like to develop locally, you can pull the existing Actor from Apify console using Apify CLI:
-
Install
apify-cliUsing Homebrew
$brew install apify-cliUsing NPM
$npm -g install apify-cli -
Pull the Actor by its unique
<ActorId>, which is one of the following:- unique name of the Actor to pull (e.g. "apify/hello-world")
- or ID of the Actor to pull (e.g. "E2jjCZBezvAZnX8Rb")
You can find both by clicking on the Actor title at the top of the page, which will open a modal containing both Actor unique name and Actor ID.
This command will copy the Actor into the current directory on your local machine.
$apify pull <ActorId>
Documentation reference
To learn more about Apify and Actors, take a look at the following resources:


